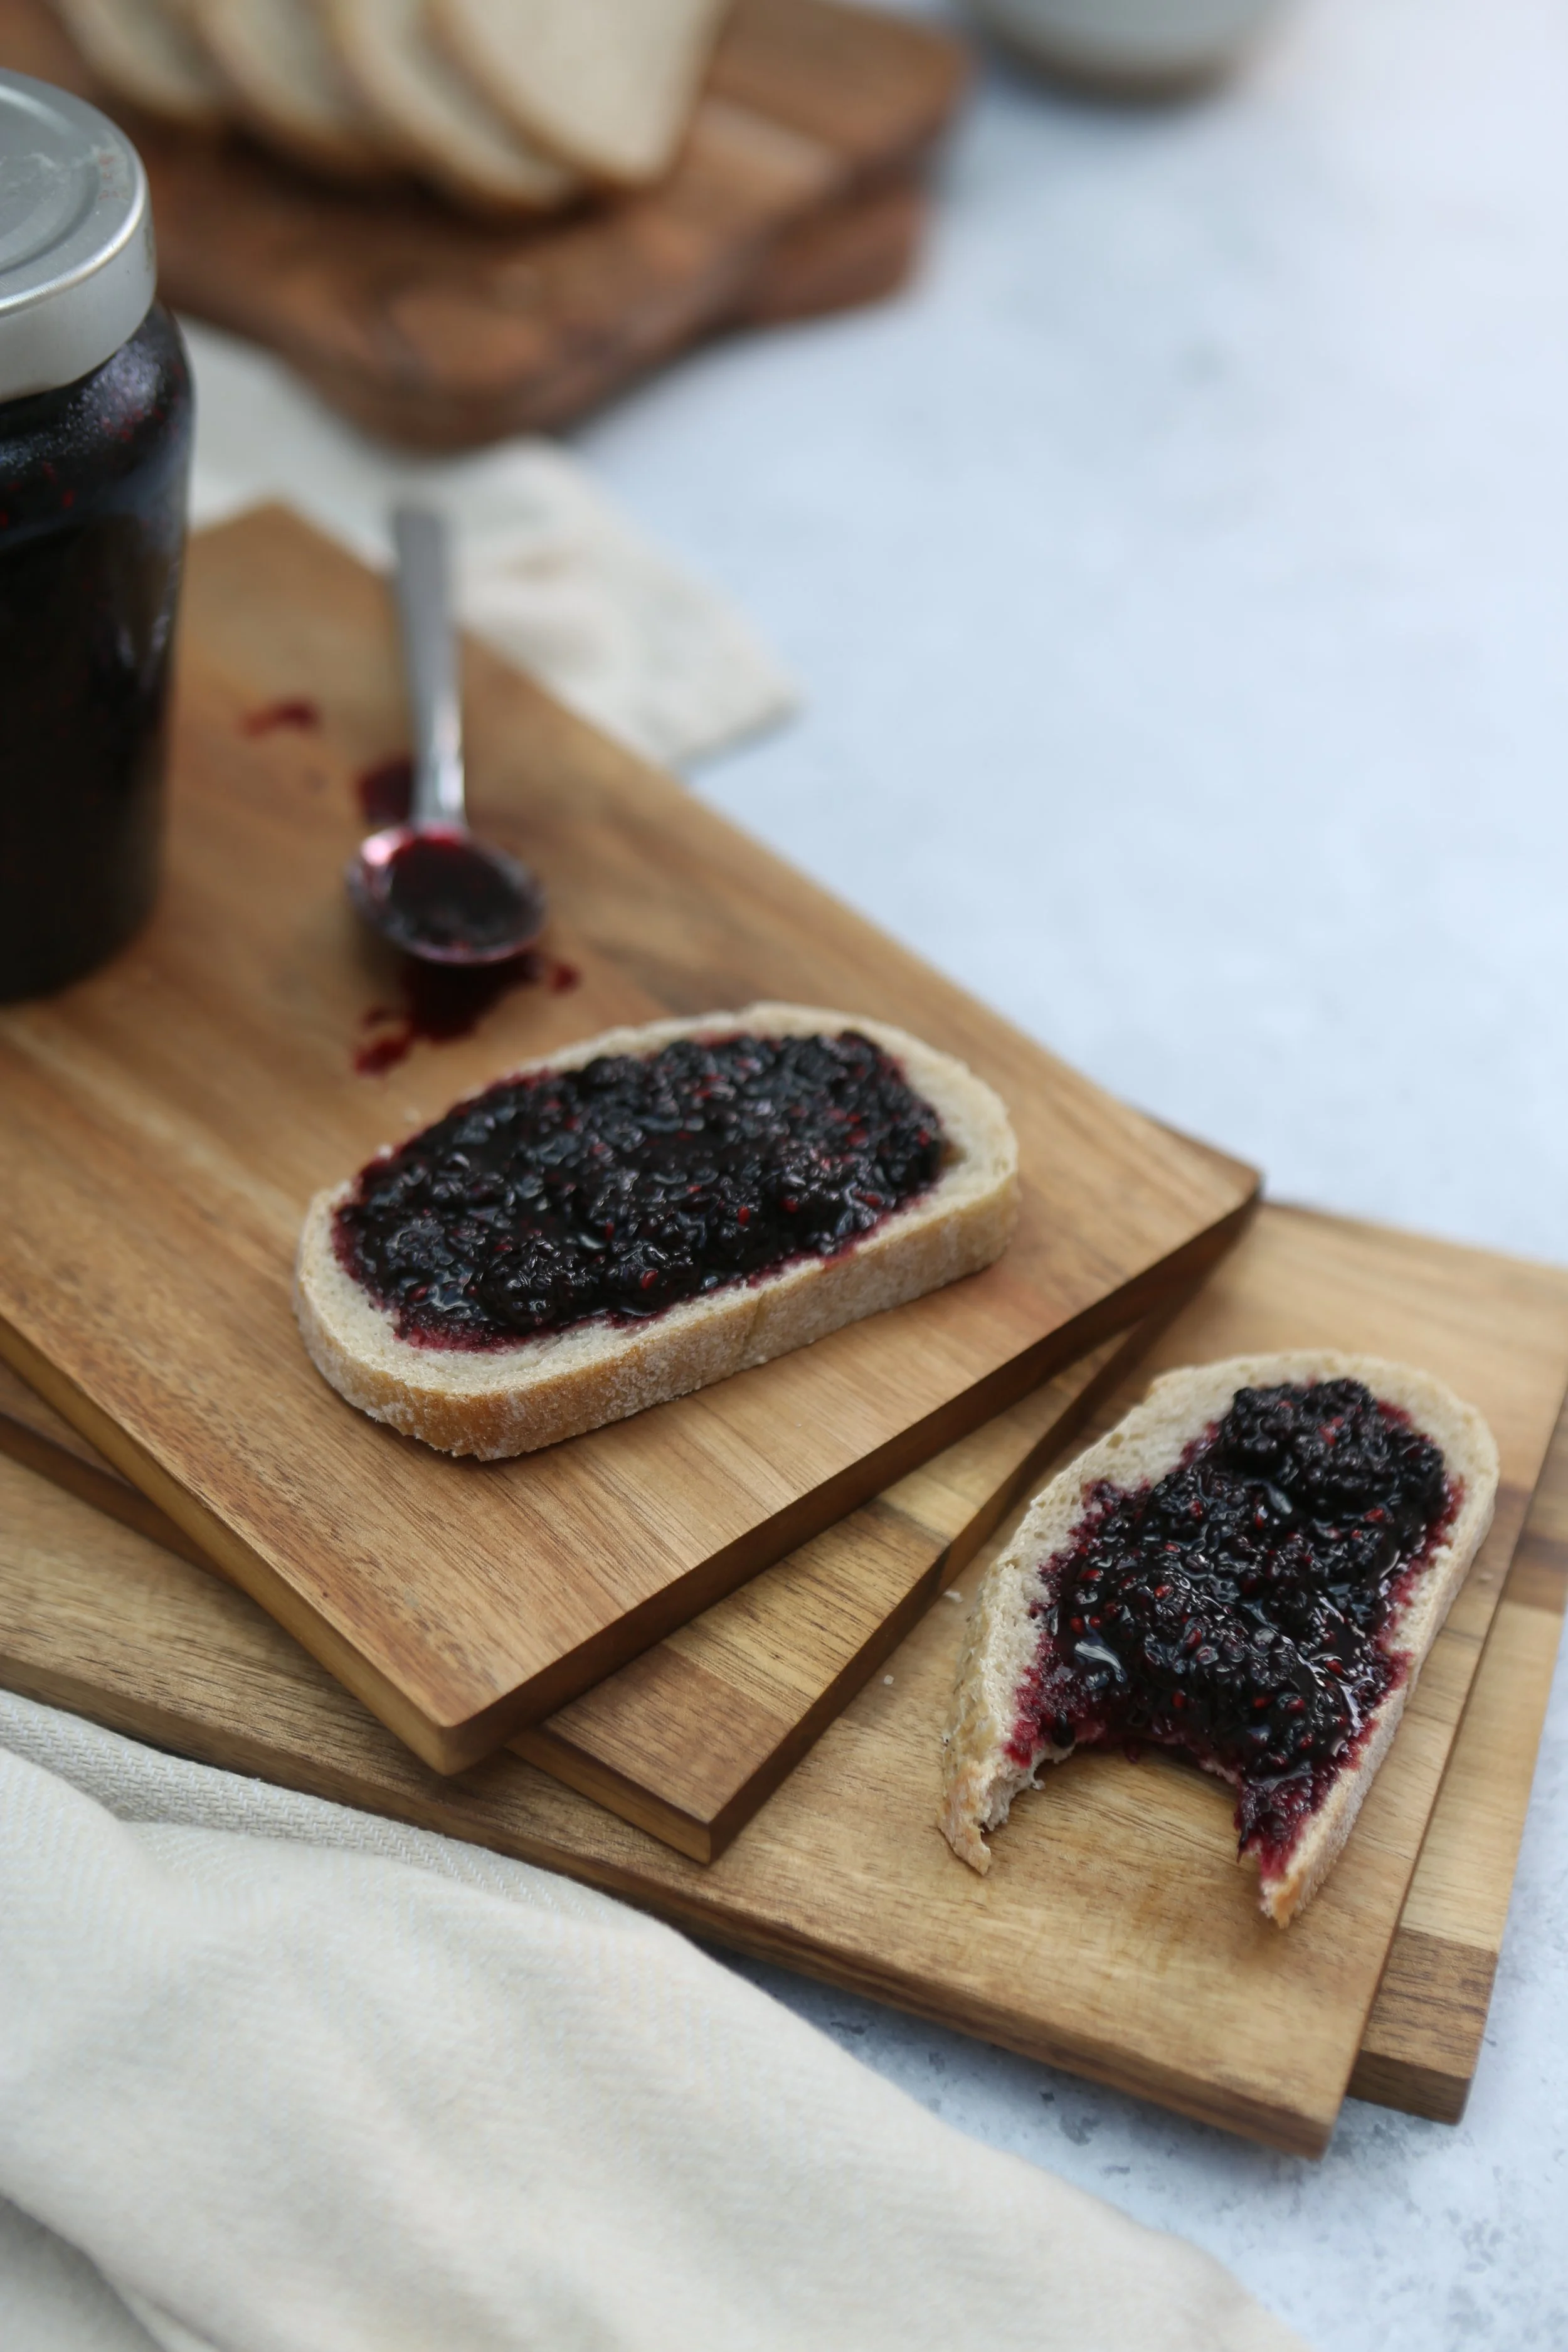
Blackberry Jam
Before having made jam from scratch, I thought the best smell a house could have was that of fresh bread baking away. Now, I think that may have been trumped by the smell of fresh jam bubbling away. I went blackberry picking for the first time last week and I’ve put together this little guide on what to look out for and how to make your own jam from scratch at home. Watch my video on how, here.
Ingredients (preparation):
2 tbsp vinegar
Water
Ingredients (jam):
500g blackberries (roughly 2 medium Tupperware sized boxes)
375g sugar
Juice of 1/2 lemon
Blackberry Jam Top Tips
Picking blackberries
Blackberry anatomy 101: the little knobbly bits/bobbles that make up the blackberry are called drupelets.
When picking blackberries, look for berries with drupelets that are uniform in colour (no red or beige/brown drupelets).
When you go to pick one, if it comes off the stem easily then it’s ripe and ready. If you have to tug at it quite hard, consider trying to find another one.
Avoid picking the ones close to the ground… it’s perfect dog-weeing height! Aim for waist height and above if you can.
If you’re particularly clumsy/careless (like me), consider taking some tweezers in your bag with you in case you get a thorn stuck somewhere inconvenient. This way, you can just pluck it out and continue with your picking as normal.
Wear clothes you don’t mind getting dirty! I came back with my jeans covered in blackberry stains from where I had got quite into the bush to get some good ones and they had smushed on, and stained, my jeans.
How I got my blackberry stains out of clothes: squeezed a little lemon juice on the stain, added some fairy liquid on top, let it set for 5 minutes, scrubbed and chucked in the wash.
Prepping the blackberries
Be mindful of the fact you’ve just been out in nature and the likelihood that you’ve brought some bugs and little critters in your fruit is likely.
Once you’re home, lay out your blackberries on a clean work surface in one layer. Scan for any visibly obvious bugs like small spiders, etc. Remove and dispose of them as preferred.
Once you’ve got all the big ones out, put all your blackberries in a large bowl, submerge them in water and let sit for at least 30 minutes.
Add the vinegar, mix well and let sit for a final 15. (I don’t like to add the vinegar too early on in case it seeps into the fruit and alters the taste).
Drain well, give them one final rinse and drain again.
Recipe (makes 2 jars worth of jam):
I followed this recipe. Here is a simplified, but still complete, version:
Place a small dish/saucer in the fridge. This will be used to test whether your jam has set! I liked to use an espresso cup saucer.
Add your blackberries to a large saucepan with the sugar and lemon juice. Mix well.
Turn the heat onto medium and reduce until the blackberries have released their liquid and you can boil the mixture.
Boil the mixture for about 10 minutes, stirring often. At this point, your jam will be almost ready!
Remove the saucer you put in the fridge earlier and spoon out 1tsp of jam mixture onto it. Let it sit for 30 seconds and draw your finger right down the middle of it - as if you were parting a Blackberry Red Sea, if you will. If the jam stays separated and doesn’t crawl back together then your jam is ready.
